Creating a rich text editor - Part 1 - Barebones Editor
5 mins read

In this tutorial series, we will be creating a Rich Text Editor (RTE) using Draft-js, draft-js-plugins and React.
Draft-js is a framework that you can use to build rich text editors with customised functionalities. It stores the editor data in a json structure that you can use to have full control over the rendered HTML.
draft-js-plugins is a wrapper over Draft-js and provides easy way to create and use plugins with specific functionalities.
The editor will have the following features -
- Inline styling (like bold, italic, link).
- Block styling (like heading, quote, lists and nested lists).
- Basic keyboard shortcuts to minimise mouse usage.
- Ability to re-arrange blocks by dragging within the editor.
- Drag and drop images from your hard disk onto the editor.
- Images with captions.
- External embed support (using embedly).
Prerequisite Knowledge –
- You should have built at least one project in
React(assuming that you already know JS) in ES6. - You should also be familiar with
gitif you want to checkout the source code at every stage of the tutorial.
What you need ?
- You should have installed
nodejsalongwithnpm.
Getting started
We will use the awesome create-react-app library to bootstrap a basic React project. Then we will build our editor on top of it. First we will install create-react-app as a global node library. Fire up your terminal and run this command -
npm install -g create-react-app
After installation, a create-react-app command will be available to you to create your project.
Let’s create our project. Run this command in a directory of your liking —
create-react-app my-text-editor
This will create a basic project in my-text-editor directory and install all the necessary initial dependencies. We will install our own dependencies as we require them.
Now, you can move into the directory and start the dev server using —
cd my-text-editor
npm start
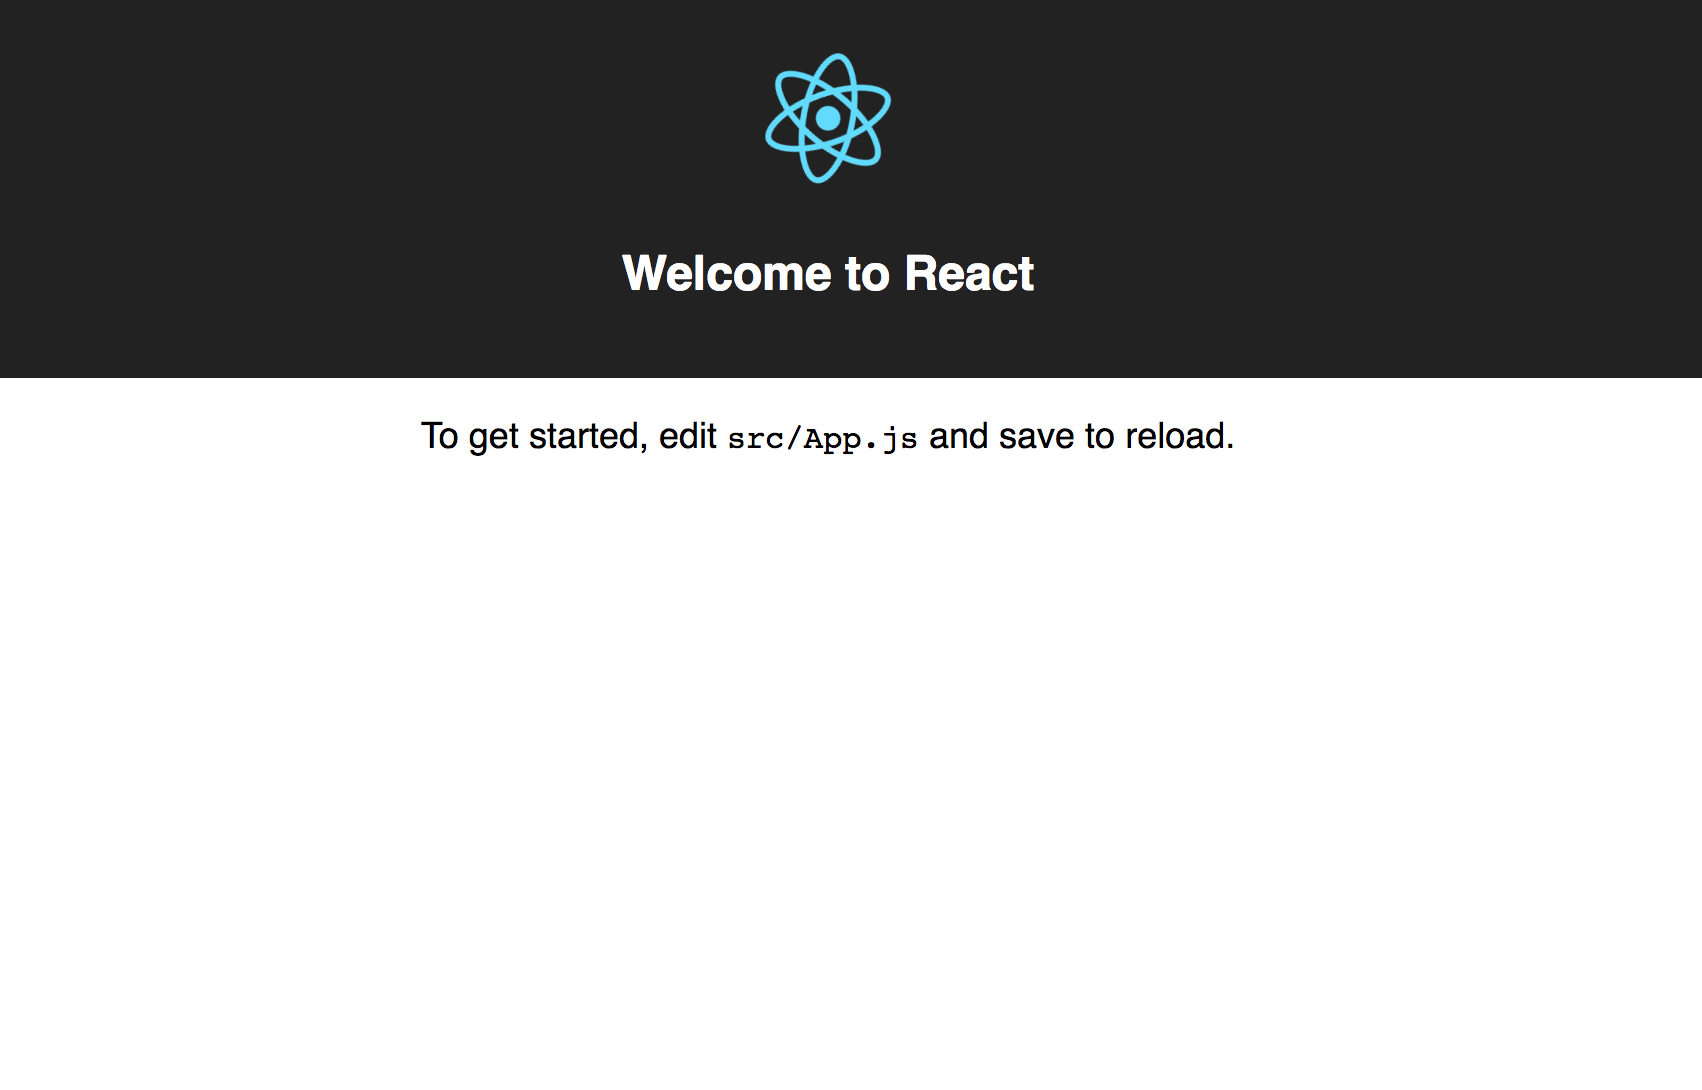
This will open http://localhost:3000 in your default browser and at this point, your application will look something like this,
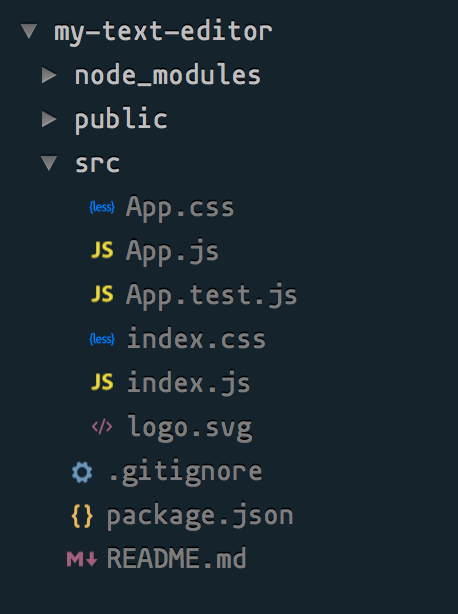
and the directory structure of the project will be like this —
Now, let us install our dependencies that will help us in implementing our editor. As already mentioned, we will install draft-js and draft-js-plugins-editor—
npm install draft-js draft-js-plugins-editor --save
This will install both the libraries and update the package.json file.
Now, let us implement the initial barebones editor where you can place your cursor and start writing some text. It won’t have any other features yet.
Open src/App.js file and remove all the initial code and add the following code —
1
2
3
4
5
6
7
8
9
10
11
12
13
14
15
16
17
18
19
20
21
22
23
24
25
26
27
28
29
30
31
32
33
34
35
36
37
38
39
40
41
42
43
44
45
46
47
48
import 'draft-js/dist/Draft.css';

import './App.css';

import React from 'react';
import { EditorState } from 'draft-js';
import Editor from 'draft-js-plugins-editor';

class MyEditor extends React.Component {
  constructor(props) {
    super(props);

    this.state = {
      editorState: EditorState.createEmpty(),
    };
  }

  componentDidMount() {
    this.focus();
  }

  onChange = (editorState) => {
    this.setState({
      editorState,
    });
  }

  focus = () => {
    this.editor.focus();
  }

  render() {
    const { editorState } = this.state;
    return (
      <div className="editor" onClick={this.focus}>
        <Editor
          editorState={editorState}
          onChange={this.onChange}
          ref={(element) => { this.editor = element; }}
          placeholder="Tell your story"
          spellCheck
        />
      </div>
    );
  }
}

export default MyEditor;
Lets see what the above code is doing —
- We are importing the basic css from draft-js which will apply styling to the editor and the placeholder text. We are also importing our own
App.cssto add our own styles. EditorStateis used by draft-js to represent the contents, selection, undo/redo history stack to be used in the Editor.Editoris the React component provided bydraft-js-plugins-editorthat renders the data created usingEditorState. This component also acceptsplaceholdertext,spellCheckboolean, a list of editor plugins and many other data which we will learn about as we need them.- We create our own
MyEditorReact component that is rendered to the page inindex.js. - In the constructor, we are creating an empty
editorStateobject in the state to store the editor data. - Then we have implemented the
onChangeandfocusmethods.onChangeupdates theeditorStateto the new contents as we type into the editor.focusplaces the cursor into the editor. It is called in thecomponentDidMountlifecycle method so that you can start typing as soon as the component is rendered.
- In the
rendermethod, we render theEditorcomponent wrapped in adiv.editorStateandonChangeprops are mandatory to be passed to this component. We are also passing theplaceholderprop to show some initial text when the editor is empty andspellCheckso that spelling mistakes are highlighted. - In
ref, we are saving a reference to theEditorcomponent so that we can call methods of that component easily, like thefocusmethod.
Lets also add some styling to make the editor look slightly better. It is pretty trivial styling and does not need any explanation.
Replace the contents of src/index.css with this —
1
2
3
4
5
body {
  margin: 0;
  padding: 10px;
  font-family: 'Georgia', serif;
}
and that of src/App.css with this —
1
2
3
4
.editor {
  width: 600px;
  margin: 0 auto;
}
You can also remove the src/logo.svg file as it is not needed. And since unit testing is a tutorial in itself, I won’t be getting into that. You can also remove the src/App.test.js file.
At this point, your page should automatically reload and you should be able to see this —

You will be able to type text into the editor, perform undo/redo using keyboard but you won’t be able to add style to the text like bold, italic etc.
You can get the source code from this GitHub repo . The code for this tutorial can be run from the part1 tag. After cloning the repo, you can do
git checkout part1
and you will be able to see the code upto this point.
In the 2nd part of the tutorial, we will be adding features to add some basic styling to the text using keyboard.
List of tutorials in this series –
- Part 1 - Barebones Editor
- Part 2 - Text Styling
- Part 3 - Entities and decorators